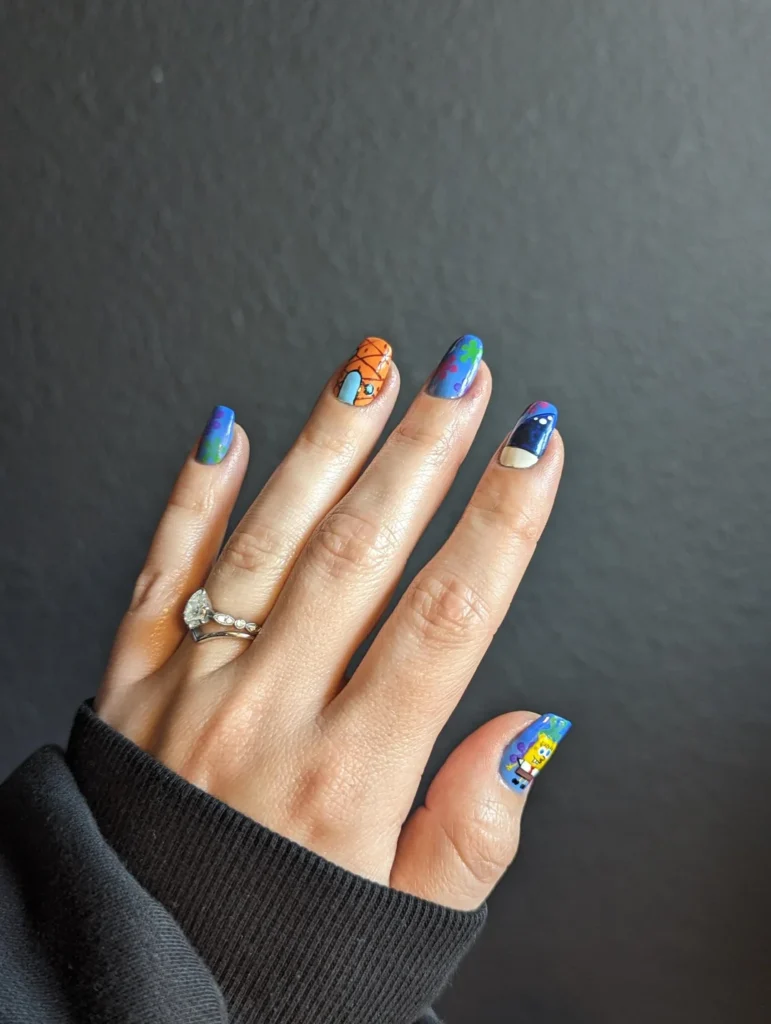
For me, getting the art of nail design has been more than just a hobby. It is a way of self-expression and reflection of my mood and personality.
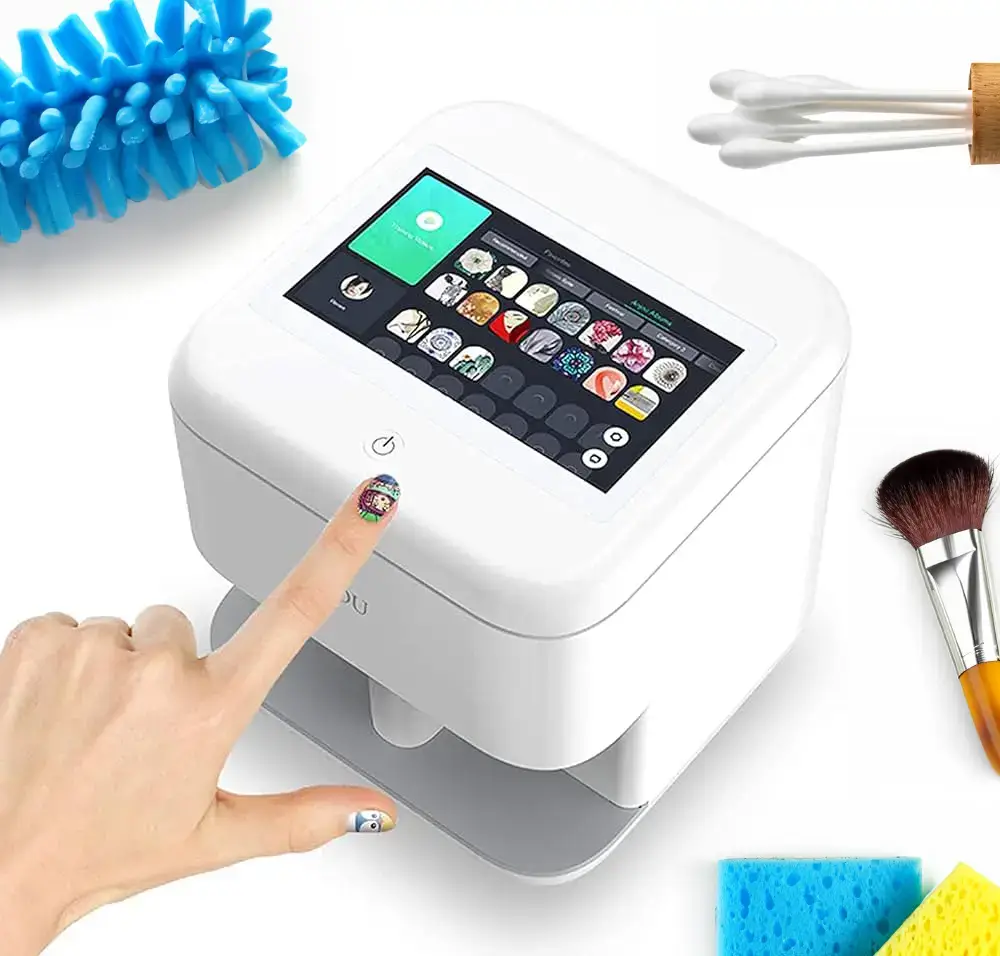
Fortunately, with the invention of a digital nail art printer, I can always do creative and unique designs as the capabilities are not limited. This gladness comes with a great machine that brings our vision into reality.
However, each machine requires proper care and maintenance to perform well. It allowed me to realize that it is essential to keep my digital nail art printer clean as if the tool supports each of my art pieces as a masterpiece.
Preparing Your Digital Nail Art Printer for a Cleaning
However, before I even begin cleaning my digital nail art printer , I get everything ready so my process is not only efficient but also safe.
Firstly, I ensure that any power source is turned off and the printer is disconnected, and this way, I minimize the risk of electrical-related incidents, while also protecting the sensitive electronic parts of the printer.
I then take the following items required for cleaning – a soft, lint-free cloth for gentle rubbing of exterior parts of the printer and prevent any possible scratching, cotton swabs for difficult-to-access areas, a mild cleanser that allows me to remove any lingering stains on the surface without danger to the printer, and alcohol wipes for sterilizing purposes.
Moreover, I consult my printer’s guide for specific instructions or warnings from the manufacturer, as failing to follow them could damage the device. By completing this set-up phase comprehensively, I ensure that the actual cleaning process is also successful and that my beloved means of creating nail art remain as new.
This preparation helps to maintain the longevity of my printer’s use while also guaranteeing that it remains a reliable source of intricate and precise designs.
Step-by-Step Cleaning Guide
I also do the same treatment with precaution on each component when cleaning to maintain the highest quality and performance of my digital nail art printer.
1. Exterior Wipe-Down
I started with the outside, using a soft, lint-free cloth slightly damp with a mild detergent. I gently cleaned the surface with the most focus on any areas that may have left remnants from previous unique nail designs.
2. Interior Dusting
Moving to the interior, I use a dry, clean brush or compressed air to remove small dust or other equally small particles. Otherwise, the printer will block in its work.
3. Ink Cartridge Area and Nozzle Cleaning
I carefully clean the area around the ink cartridge and the nozzle, using alcohol wipes, and cotton swabs in a precise manner. This requires finesse as the nozzle is not only sensitive but crucial to the making of an image; that is hence to be delicately cleaned in order to remove any ink residue.
4. Lubricating Moving Parts
Before using the printer, I lubricate any moving parts with a minimal amount of lubricant if the manufacturer’s manual allows. It ensures that the printer moves smoothly and that the moving parts do not strain to make the printer operational.
5. Reassembling and Testing
I check if the cleaning and moistening have not, in any way, affected the overall operation of the printer. This has ensured that my digital nail art printer remains well maintained for creating the most elaborate designs.
Post-Cleaning Care
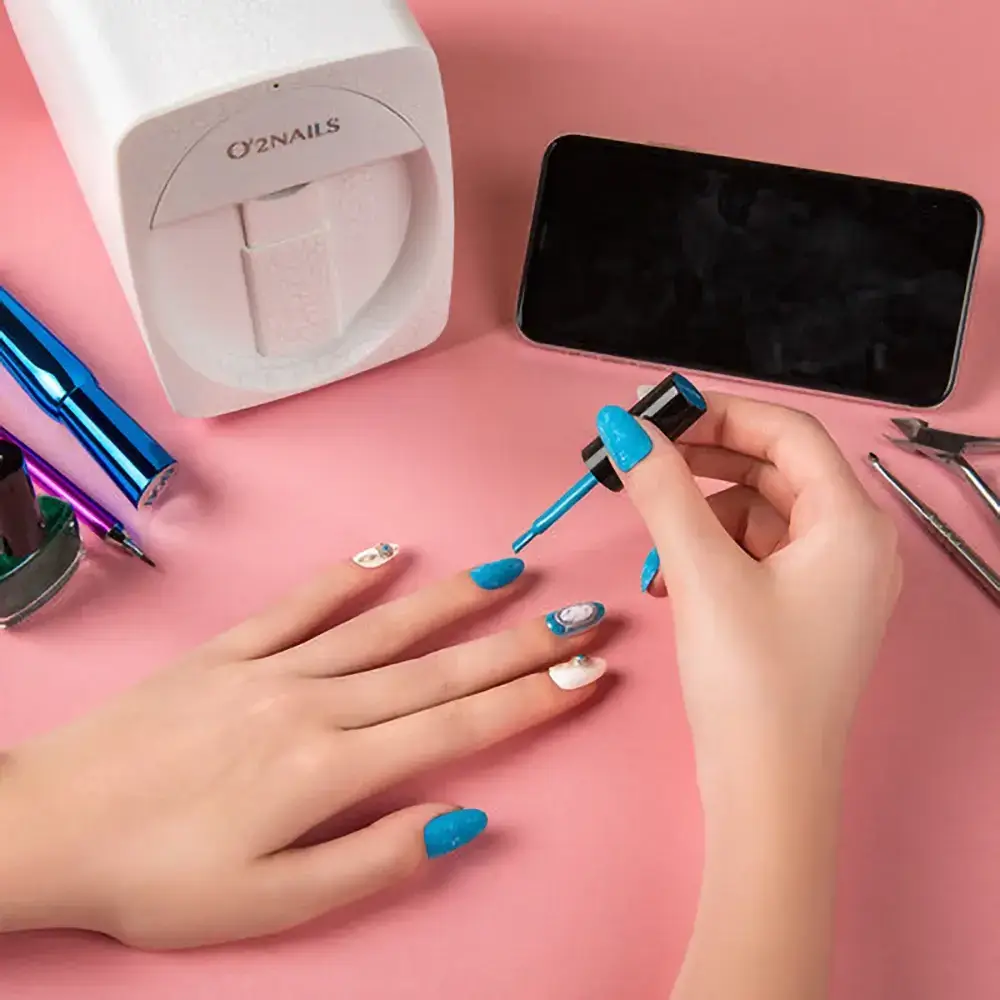
But that’s not where it ends. Once I am satisfied with how clean my digital nail art printer is, I want to ensure that there is no room for any mishaps. Thus, my whole digital nail art printer is checked once again to ensure that each part is reassembled to its rightful place.
A test print is also run to ensure that the printer is ready for my creativity. Although it is important to ensure that the technical work is up to date, this practice is key to ensuring that my creativity is not at any time, limited. Everything has its place to ensure my freedom to express my feelings through digital nail art.
Where Can You Find Wonderful Nail Designs?
We have selected for you the platforms whether you love bold patterns, sleek styles, or intricate details, where you can get creative design ideas that will make your nails beautiful.