Perfect at-home manicures are not just about choosing your favorite color nail polish; the drying method used also determines whether your nails look salon-made and last longer without chipping or smudging.
A nail dryer is one of the game-changer tools that will ensure you achieve this and much more. Regardless of whether you are doing your regular nail polish or gel polish, using your nail dryer to its full potential will make your nails look great.
The following are detailed home nail dryer tips and tricks for using a nail dryer based on the previous short list:
Preparing Your Nails
A perfect manicure starts with the correct preparation. Nail preparation helps polish adhere better, preventing early chipping.
- Clean and File: Every good manicure should start with clean, dry nails. Oil, dirt, and dust on your nails can prevent polish from sticking properly. File your nails to your desired shape. Good manicure guides recommend a very gentle shaping, leaving the edge of your nails perfectly smooth. This will help polish apply evenly.
- Buff Your Nails: Lightly buff the surface of your nails to remove ridges that can make polish not apply evenly. Do not buff too hard though, as this thins your nails which can weaken them.
Applying Nail Polish
The way your paint your nails has a lot to do with how fast it dries and how well it turns out.
- Cover The Whole Space: Paint in thick layers and go over the same spot. Thin layers will dry out too fast and the coats are not supposed to be too thin
- Base And Top Coat: Do not forget about the base coat for your nails as it will prevent the polish from staining the nails and will make it last longer. As for the top coat, it will protect your manicure from chipping and will add gloss to the nail polisher covering . All of this requires another thin and even layer.
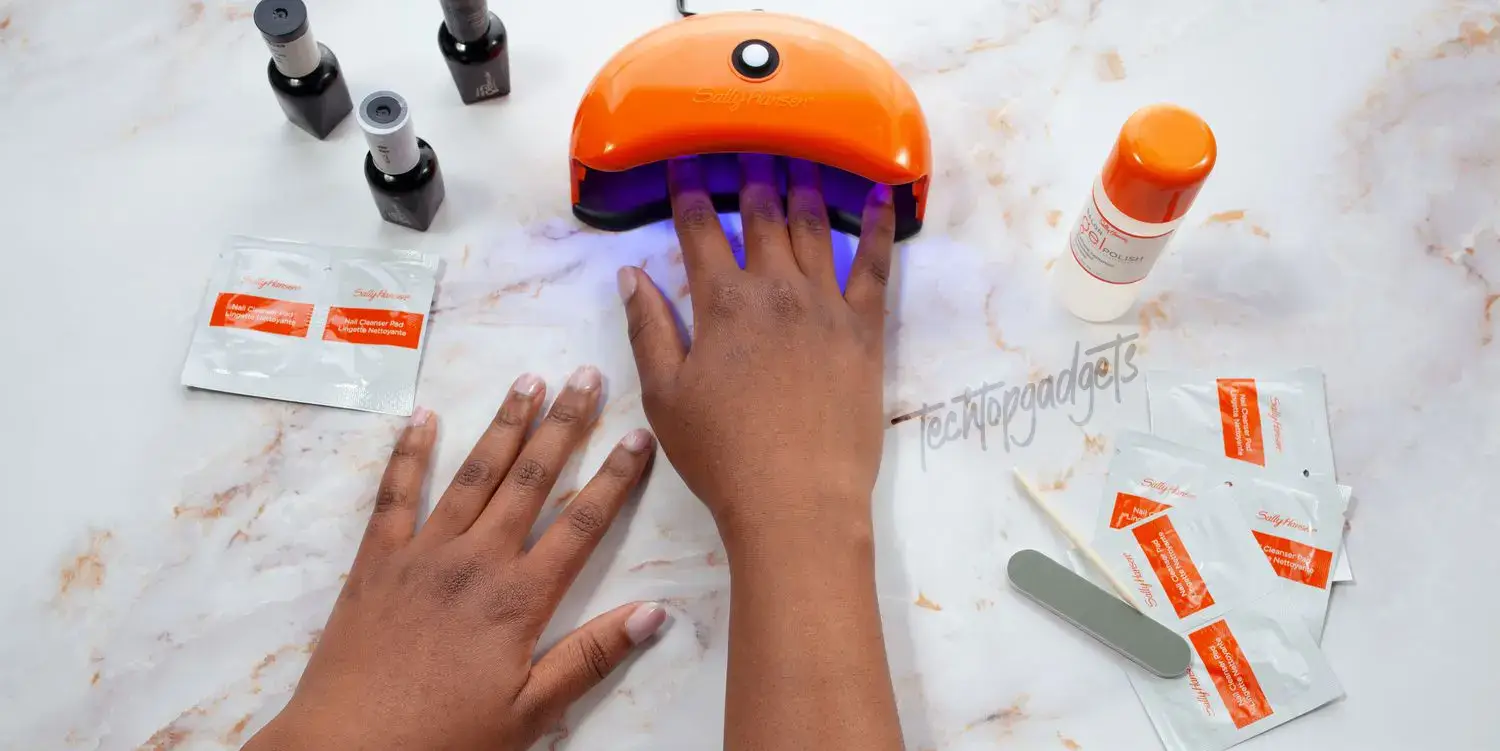
Using the Nail Dryer
There are 2 kinds of solutions for nails UV and LED, so nail dryers are different. Here is what should be done:
- Choose Right Dryer: UV models generally take a little longer and may use more energy. However, LED dryers are typically quicker and more energy efficient. They’re especially excellent for curing gel polishes, which need certain wavelengths of light to harden.
- Protection: It is better to slather broad-spectrum sunscreen on your hands about 20 minutes before your manicure. This way, you can protect your skin from the damage that repeated exposure to UV light can cause.
- Regular Cleaning: To have a dryer that works well, you should clean it regularly. Do it by wiping down the surface as well as those lights. Just remove any dust and any pet hair that might be there, as well as any polish powders.
Tips for Gel Polishes
Gel polishes require a nail dryer to cure, unlike regular polishes that air dry. Here are some gel-specific tips:
- Avoid Over-curing: Use recommended curing time for your specific gel polish. Over cured polish can get too hard that it may lead to cracking.
- Even Curing: For dryers that have fixed light sources, avoid having hot-spots by rotating your hand during curing. Make sure every part of your nails, sides, and tip are exposed.
Additional Tips
Beyond the basics, these additional tips can help you get the most out of your nail dryer and ensure your manicure looks great and lasts longer.
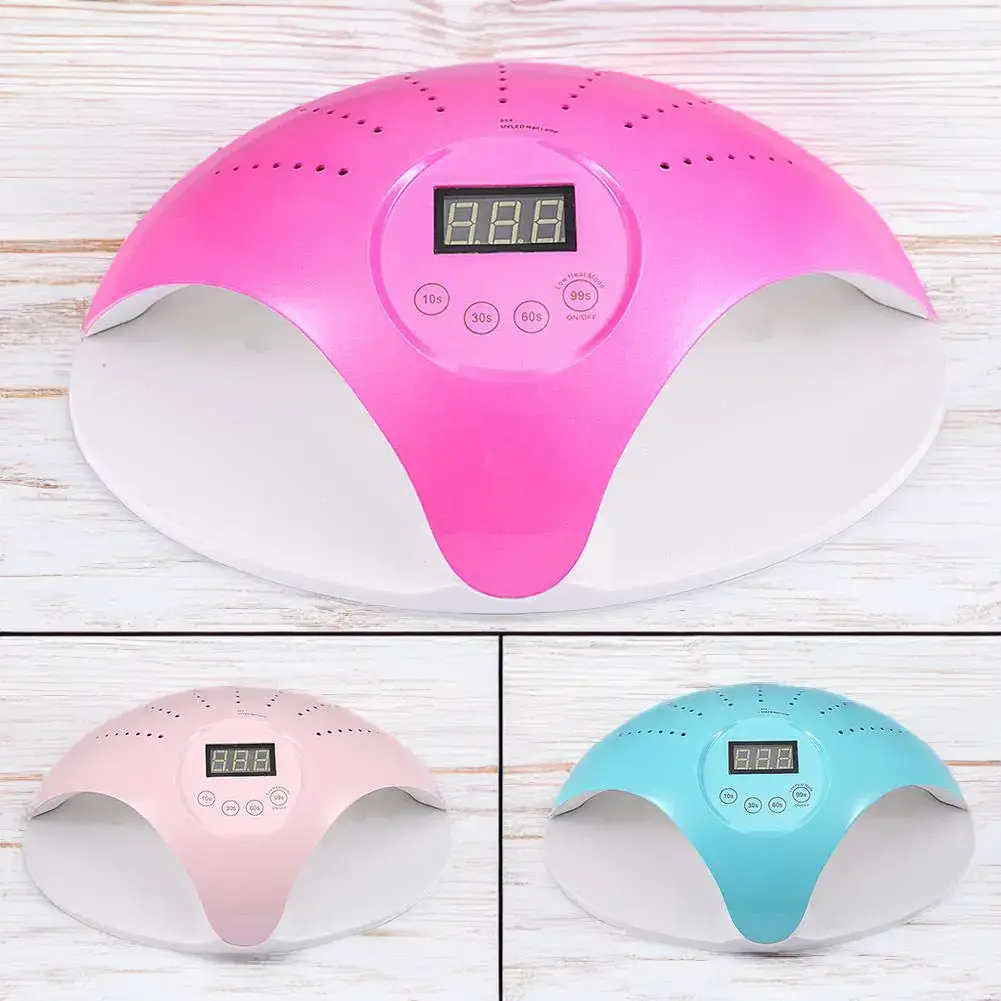
- Cool Air Setting: Some nail dryers have a cool air setting, and using it after the nails are cured can help set the polish and help reduce the heat spikes sometimes experienced during the curing process.
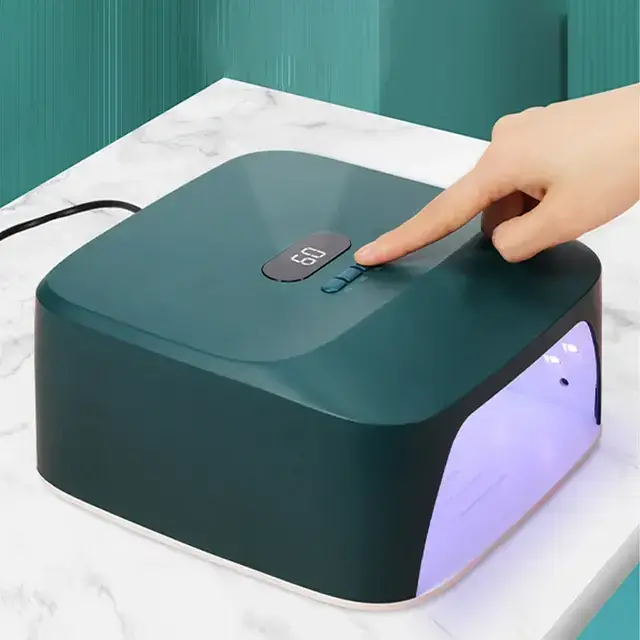
- Use a Timer: Avoid the guessing game of drying times; use a nail dryer that has a timer to ensure you do not under or over-dry your nails.
- Do Not Rush: It is a good idea even with a nail dryer, to give your nails a few extra minutes before resumed full use of your hands, thus ensuring the polish is set completely.
- Mainteinance Matters: Keep your dryer in the perfect shape by constant checking of the bulbs or LEDs it. Replace any that are dim or completely done for a good curing machine.
For a Perfect Finish
What are your thoughts on using nail cleaners to dry your nails? They could save time and really make your nail polish last longer. However, they work best when you are:
- Patient: To a certain extent, the key to a great at-home manicure is not to rush. This is true for the prep work, polish work, and nail dryer. Eventually, you will be rewarded for taking your time with long-lasting, beautiful nails.
- Experimental: As the drying time can depend on the polish’s brand and kind, it may be worth knowing how long your favourite products should be dried for.
- Caring For Your Dryer: Use and the passage of time can decrease the efficiency of your dryer. In order for it to keep working optimally, make sure to clean and maintain it properly.
Conclusion
A nail dryer will help you make your at-home manicure experience astounding. By following a guide with many detailed tips and tricks, you will be able to prepare, paint, and finish your nails the same way you do in a salon, but from your home.
The devil is in the details, so whether it is the way you apply each coat of polish or your nail dryer using technique; everything matters. Be patient and practice, and you will find that doing your manicure at home can be both satisfying and fun.